Updated on December 6, 2019
The first time I tried to change my septum ring, it took 15 minutes or so, tens of tries and loads of deep “you can do it” breaths, before I found myself lying on the sofa, legs on the wall with my head hanging down, and having my young daughter lean over me, holding a torch pointed inside my nose, bravely guiding and encouraging me: “Yes mommy, you are almost there!! A little up, …to the right…don’t give up!! You can do it!” I realized I could NOT do it yet. Needless to say, it was WAY too early. Impulsive… I know, but I couldn’t help myself!
I know, you just can’t wait to take out the initial, too-generic septum piercing horseshoe and put in a gorgeous septum ring that reflects your true self, that looks STUNNING on you!
Wait for the Septum Piercing to Completely Heal
When the pretty septum piercing fully heals, you can feel it wiggling when you shake your head. If you feel that your septum skin hugs the ring tightly, or there is some resistance when you play with it, it means that it is not 100% healed.
However, it doesn’t mean that you cannot replace it.
If you feel pain, it stings when you play with your septum ring, or it still has some infection, it is too early. I know it is hard, but, you should wait some more. It is worth it.
If your septum piercing is not 100% healed, it doesn’t mean that you cannot change it, but it could mean that it would be a little harder, and that you might experience a small heart attack, thinking you lost it forever :)
Model is Queen Obsidiankerttu
Septum Ring Removal Preparation
If your mirror hangs over a sink, cover the sink hole.
Use a cup, a piece of paper, your favorite cream jar, your cat… anything. Just don’t make that mistake and cry as your septum ring falls down the drain.
Wash your hands until they are clean- like prepping for surgery. Looking at the mirror, use your fingers feel and find where your piercing is. Take your time, get to know your piercing. Because of its location, it is almost impossible to see the puncture location, so make sure that you have a good idea where it is located.
Prepare Your New Septum Ring
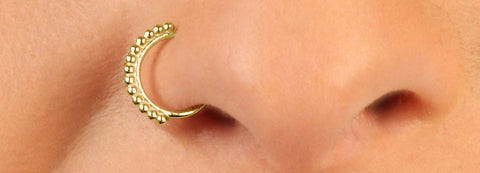
Prepare your beautiful new septum piercing ring that you are about to put in. Twist it carefully, but not too much, as in the example below.
Place your septum ring on a clean surface (tissue paper, cotton wool). Sterilize the jewelry that you are about to put in, as well as your hands and your septum piercing from both sides using cotton buds and the antiseptic that your piercing studio recommended to you.
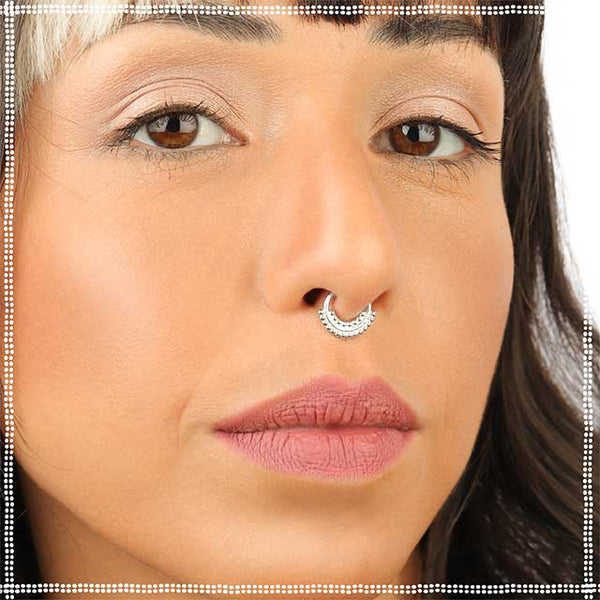
Model is the super talented Naomi King
Unscrew one end and begin to pull out the horseshoe. Stop when the end is about to go through the hole and out the other side. At this point, you can place the new septum ring in a way that its tip touches the tip of the horseshoe.
Then, pull the old one and push the new one at the same time, so that the old jewelry kind of guides the new jewelry in.
If you find this way too complicated, simply pull the horseshoe out, take a deep breath and carefully find the way in with your new jewelry.
If your septum piercing is not 100% healed, it could take a while to find it.
Be very gentle, try not to irritate your septum too much and don’t worry, it’s still there!
It didn’t go anywhere, it just contracted a little. FYI, a fully healed piercing won't contract, and is easy to find.
After a few tries, clean the tip of the jewelry again and your piercing hole with the antiseptic.
When you are sure you found the right place, you might need to use some gentle force to push it back in. With a cured one, it will easily go in.
Once it is in, YESSS! YOU ROCK!!! Twist the ring's tips back to line up, and clean your pierce with antiseptic once again, to make sure you haven’t let in any infection-breeding bacteria.
Too scared to do it yourself?
Don’t give up and compromise on that horseshoe ring. It’s nice…kind of…But…
Step into your piercing studio. They would love to help you.
How did it go the first time you tried to change your septum ring?
Spill it below.

